
Of course, it would be another few days before the shell had cured and the roof was dry enough to continue. In the menatime, I checked the continuity of the rubber to make sure I got a fairly even spread across the surface. I learned that I should have started with the foam rollers in order to get a smoother surface, but I kind of liked the rough texture over a perfectly sheened covering.
My next work day would not come for a couple of weeks, where by I spent a pleasant Friday afternoon replacing the rubber gasketfor the air conditioning roof vent. A bit of Gorilla Glue seemed to do the trick, drying and sealing the edges around the gasket. A friend and I hoised the A/C unit back onto the roof, and then began raising the popping up the camper to re-attach the internal controls.

Again, a bit of Gorilla Glue provided a nice weather seal for the unit. Once we had put the cowling back on for the internal vent cover and slid the knobs back on to the controls, we expanded out the bunks and re-ran the wires for the A/C power and lighting.

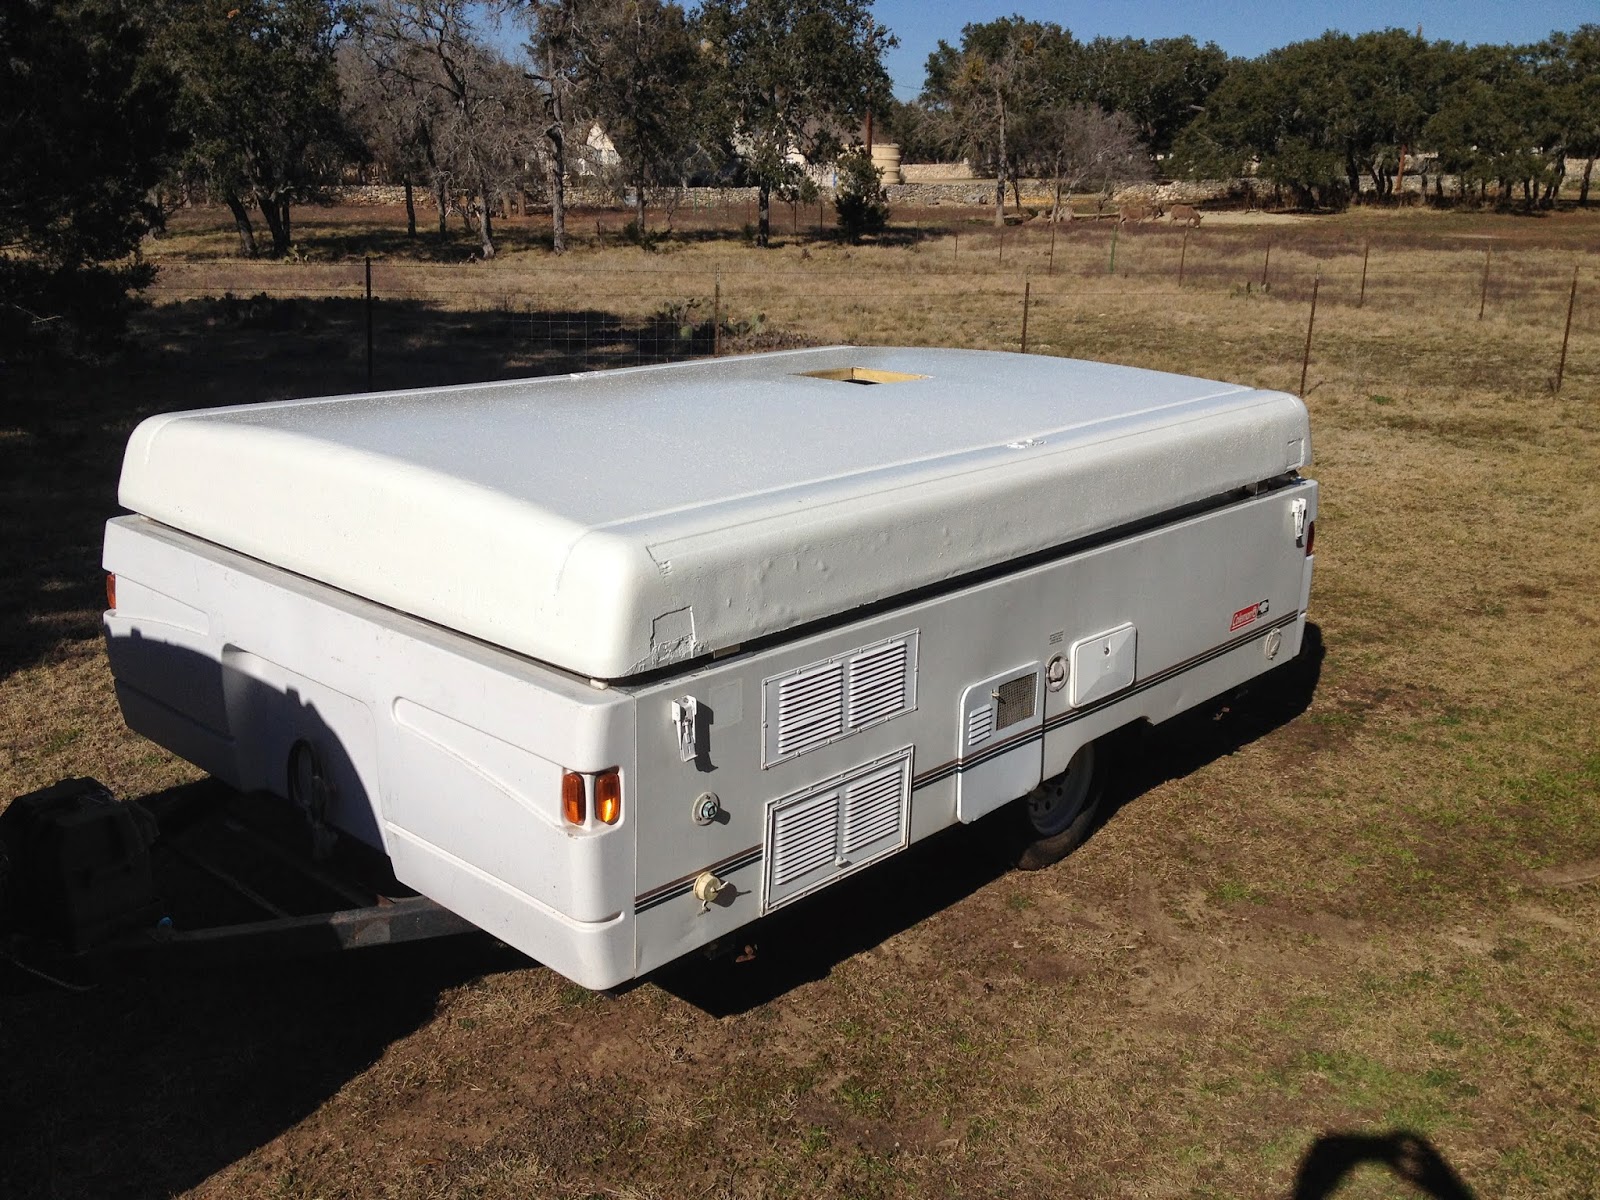
The only work left now is to screw back on the latches and glue a new lid seal/gasket on to the bottom of the roof shell. We should be camping in no time.
A bit more to come...